TLDR:
Any tree 30cm+ in diameter on your Toronto property is bylaw-protected — and construction within its Tree Protection Zone (TPZ) triggers permits, arborist reports, and potential fines up to $100,000 per tree
Garden suites and ADUs are hit hardest by tree protection requirements, followed by additions, then custom homes. Ravine-protected properties have stricter TPZ rules.
The single biggest mistake we see: homeowners ignoring tree protection until it's too late, turning a manageable process into a budget-crushing nightmare
Get a survey and bring in an arborist before you even start designing — not after
Key Takeaways About Toronto Tree Protection
Trees ≥30cm DBH on private property, all street trees, and any tree in a ravine-protected area are regulated under Toronto's Tree Protection By-law (Chapter 813)
Fines range from $500 to $100,000 per tree — plus replacement planting at 120% of cost, security deposits, and potential stop-work orders
TPZ distances scale with trunk diameter: a 70cm tree requires a 4.2m protected radius — that's an 8.4m-wide no-go zone around the trunk
The arborist should be your first call, not your last — ideally before design even starts
Proper tree protection on site means plywood hoarding or snow fencing installed to City specs, inspected by Urban Forestry before any work begins
Every dollar spent on early planning saves multiples in avoided fines, replanting costs, and project delays
Here's What Most Homeowners Don't Realize About Trees and Construction in Toronto
We've had homeowners call us mid-project, panicked, because Urban Forestry just showed up and told them to stop work. Their contractor never mentioned tree protection. Their architect didn't flag the 80-year-old maple sitting 3 metres from the proposed foundation. And now they're staring down fines, mandatory replanting, security deposits, and a construction timeline that just got blown apart.
We see this constantly. And the worst part? It's preventable every single time.
Toronto does not mess around with tree protection. The City doesn't care if you didn't know about the bylaws. They don't care if your contractor forgot. If you damage or remove a protected tree without a permit, you're liable — and the penalties are steep.
Our team has dealt with tree protection requirements on projects all over Toronto and the GTA — from the Beaches to Scarborough to Rosedale. We've seen what it looks like when a project handles it properly from day one, and we've inherited the mess when it gets ignored. This article is everything we wish someone had told our clients before they started planning.
What Triggers Tree Protection Requirements in Toronto
Not every tree on your property is regulated. But more are than you'd expect.
Under Toronto's Tree Protection By-law (Municipal Code Chapter 813), here's what's protected:
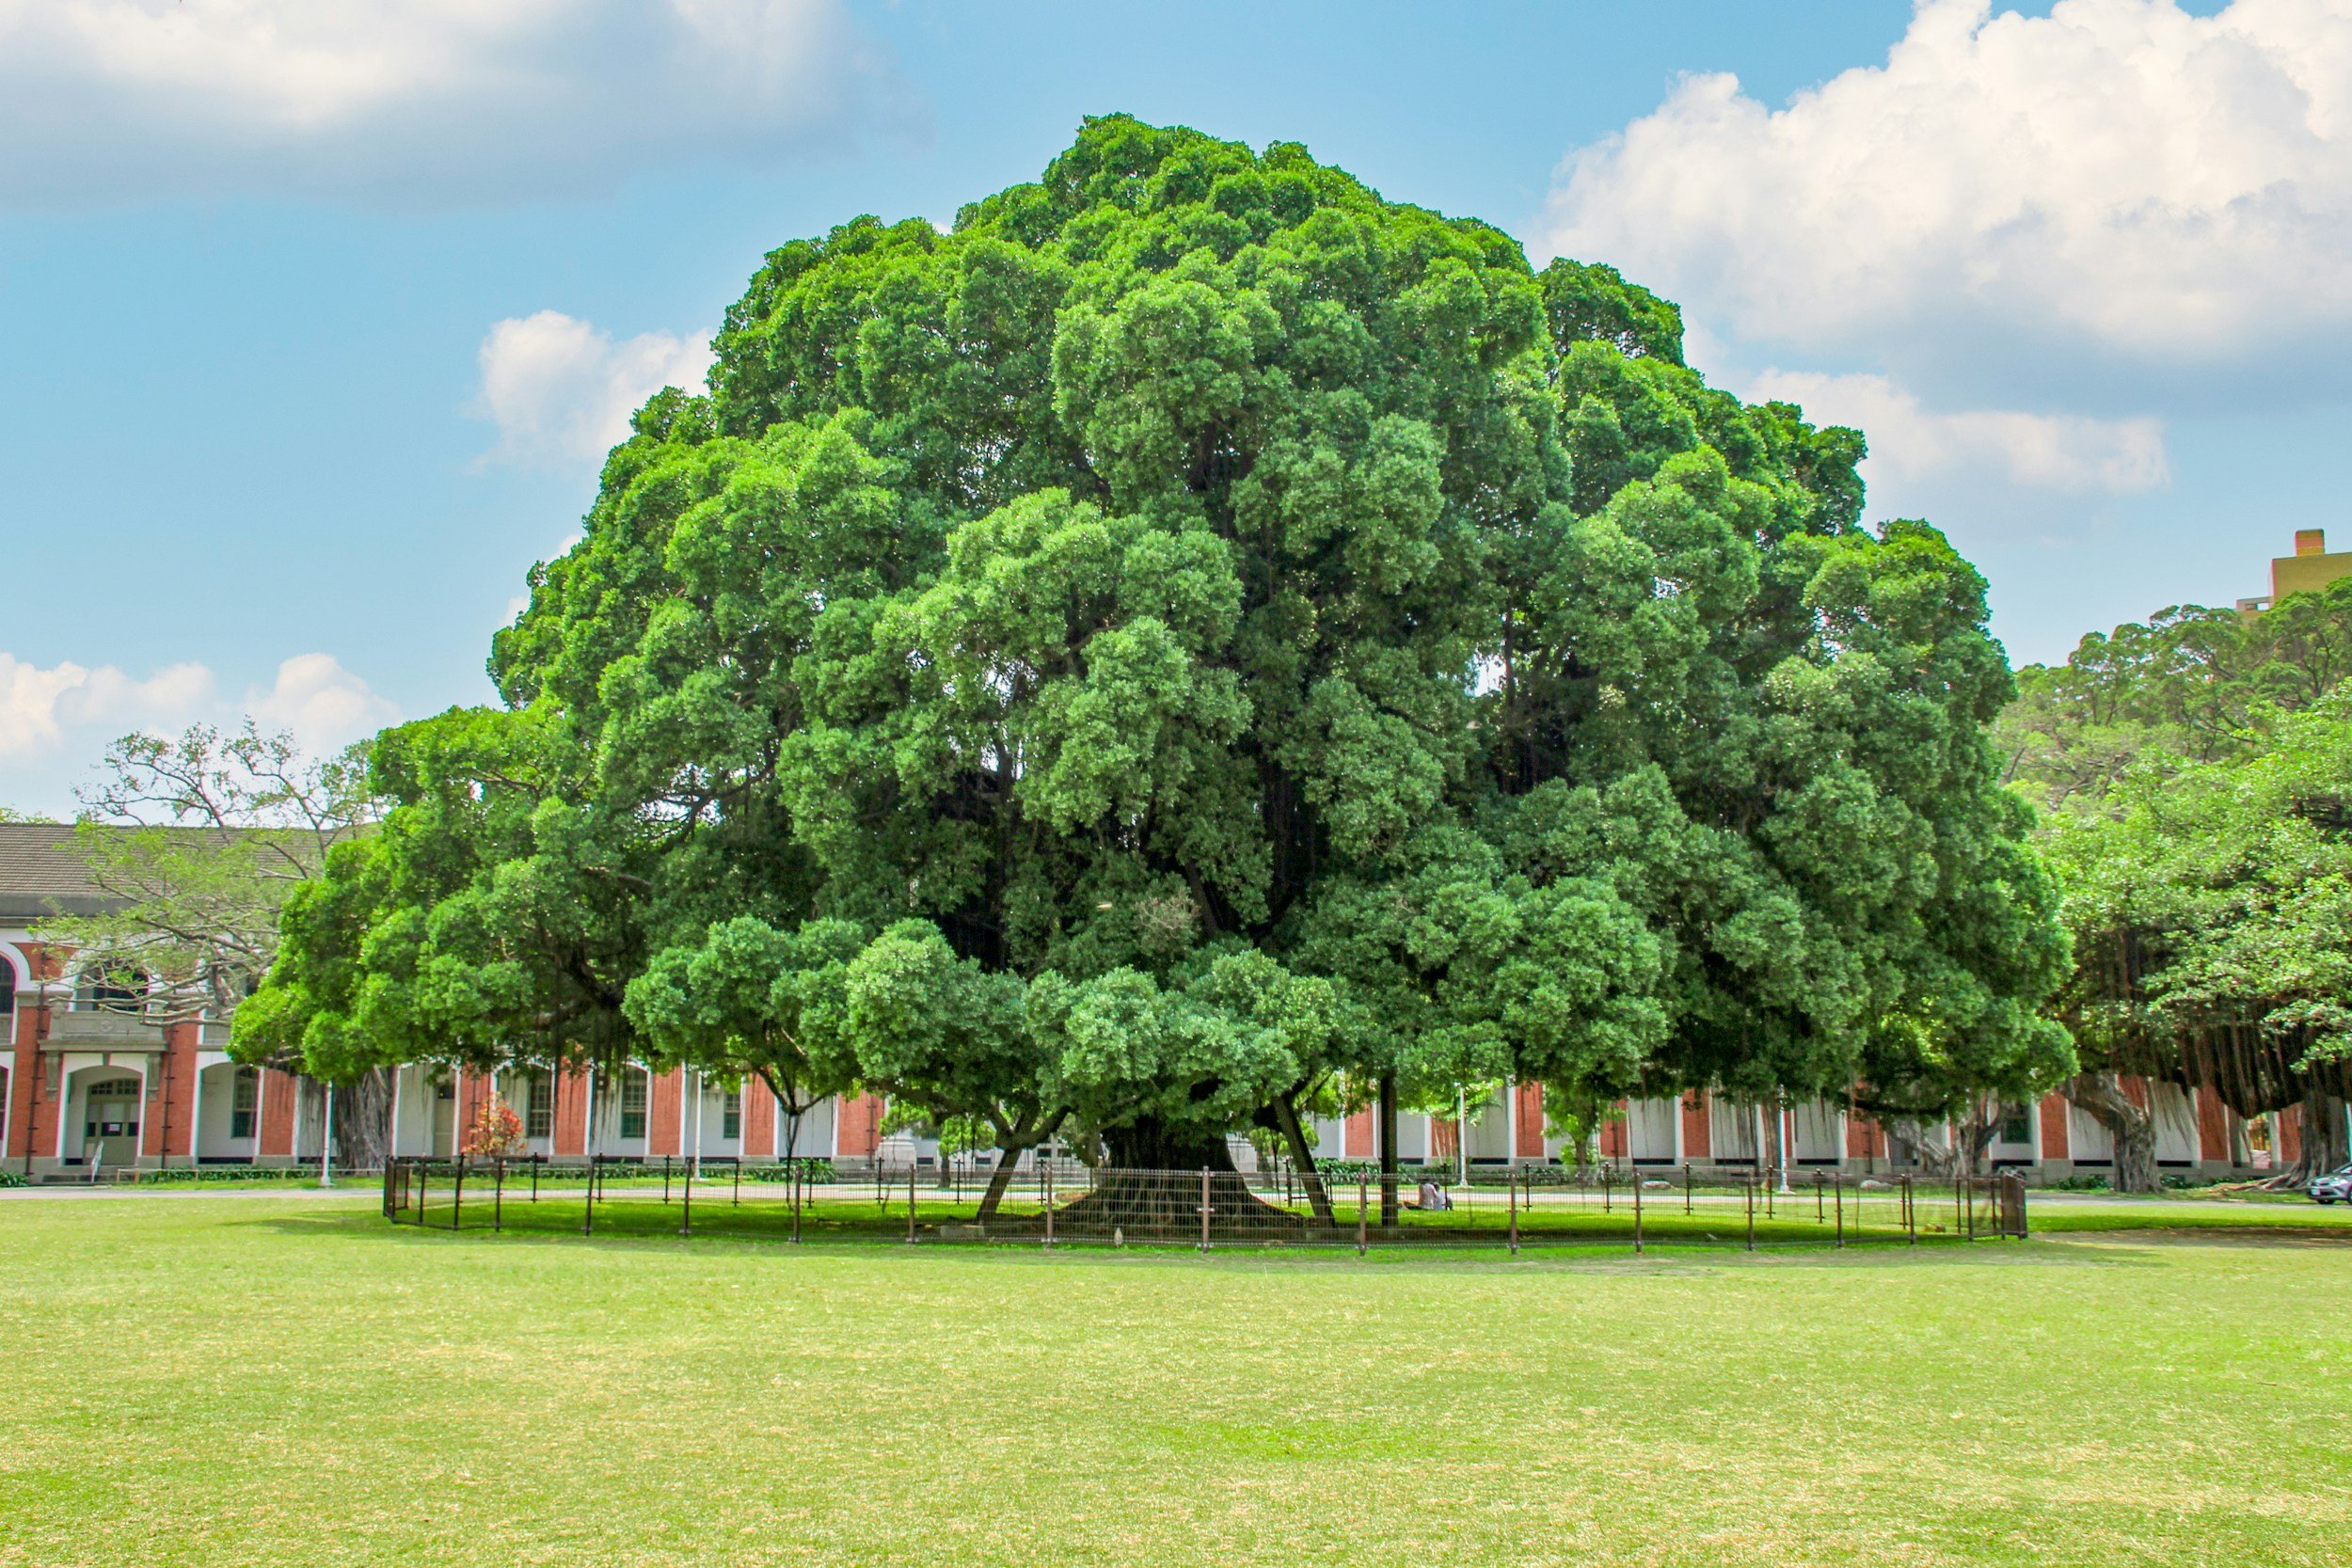
Private Trees ≥30cm in Diameter (DBH)
Any tree on private property with a trunk diameter of 30 centimetres or more — measured at 1.4 metres above ground (called "Diameter at Breast Height" or DBH) — is protected. Any activity that could injure or remove that tree requires a permit. This includes trees on your neighbour's property if their roots or canopy extend into your construction zone.
All Street Trees — Any Size
Every tree on a City street is protected, regardless of size. That boulevard tree between the sidewalk and the road? Protected. The one growing in the front yard close to the property line? Possibly City-owned, and definitely protected. If you're not sure, call 311 or check your survey.
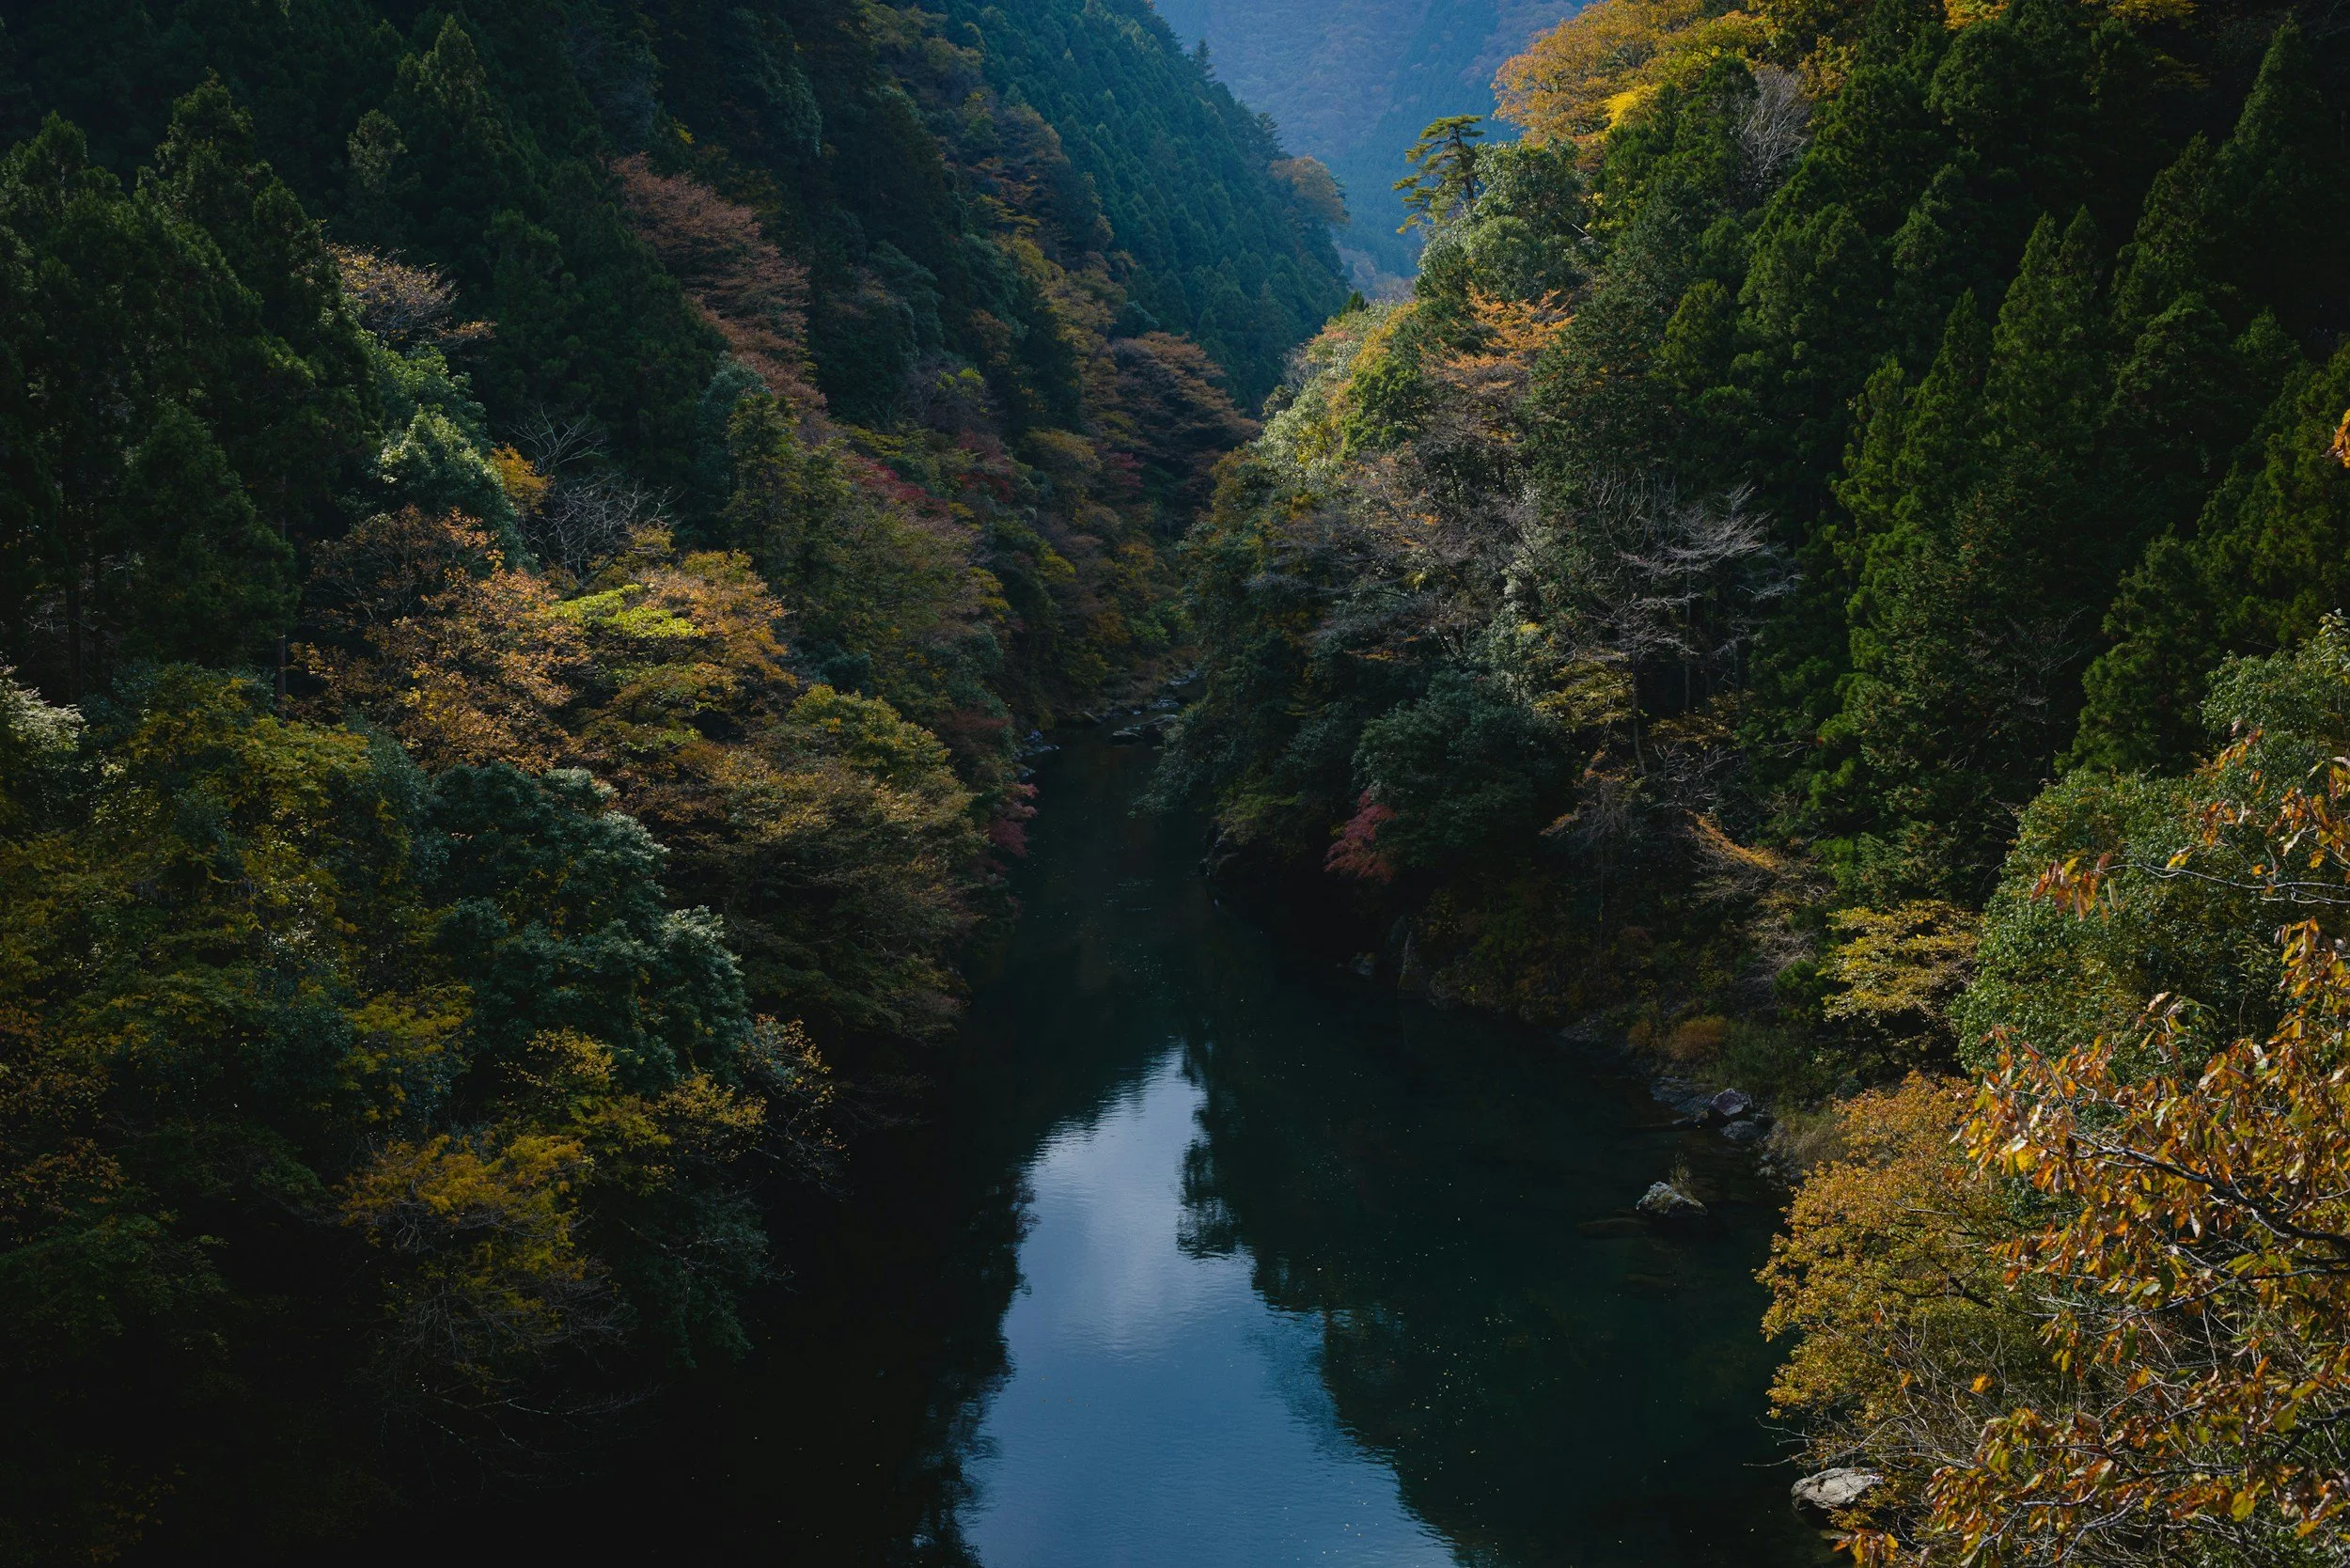
Trees in Ravine and Natural Feature Protected Areas
If your property falls within a designated ravine or natural feature area, every tree — regardless of size — is protected. Grade changes, excavation, dumping, and construction are all prohibited without a permit.
The Bottom Line: If you're planning any construction — custom home, addition, garden suite, even a new driveway — and there's a mature tree anywhere near the work zone, assume it's protected until proven otherwise. Get it measured.
The Real Cost of Ignoring Tree Protection
This is the section that usually makes homeowners go quiet. The fines are not symbolic. They're designed to hurt.
Fines: $500 to $100,000 Per Tree
Under Section 813-29 of the Municipal Code, a person convicted of a tree protection offence is liable to a minimum fine of $500 and a maximum fine of $100,000 per tree — plus a potential special fine of $100,000. That's per tree. If your project impacts three protected trees without permits, you're looking at up to $300,000 in fines before you've even talked about remediation.
Replacement Planting at 120% of Cost
If a tree needs to be removed and replanting isn't physically possible on site, the City can require cash-in-lieu payment equal to 120 percent of the cost of replanting and maintaining the trees for two years (Section 813-20). Depending on the species and size, this can run into tens of thousands of dollars.
Security Deposits
Urban Forestry can require tree protection guarantee deposits and tree planting security deposits to ensure compliance. These are held for a minimum of two years after construction or planting is complete, and they're only released after inspection confirms the trees are healthy and in vigorous growth. If the trees don't survive? You're replacing them on your dime.
Stop-Work Orders
The General Manager of Parks, Forestry and Recreation has the authority to stop any work causing unauthorized injury to protected trees. That means your entire project grinds to a halt until the issue is resolved. We've seen this add weeks — sometimes months — to a construction timeline.
The Bottom Line: The replanting is usually the largest cost if you need to do it, then the cash-in-lieu and security deposits aren't cheap either. Every property is different, but if you're dealing with any of these, you'll be spending thousands — if not tens of thousands — depending on how many trees are affected and whether you're in a ravine-protected area.
Tree Protection Zone (TPZ) Sizing: The Numbers You Need to Know
The Tree Protection Zone is the area around a tree that must remain completely undisturbed during construction. No excavation. No equipment. No material storage. No foot traffic. Nothing.
TPZ size is based on trunk diameter (DBH), measured against the City of Toronto's specifications. The required protection distance is whichever is greater — the calculated distance based on trunk diameter, or the dripline (the area beneath the outermost branch tips).
Why this matters in practice: A 70cm-diameter tree requires a 4.2-metre protected radius in every direction from the trunk. That's an 8.4-metre-wide zone you cannot touch. On a typical 30- or 40-foot-wide Toronto lot, that single tree can consume a massive portion of your buildable area.
And here's what catches people off guard: for ravine-protected areas, that same 70cm tree demands an 8.4-metre radius — a 16.8-metre-wide protection zone. That can effectively eliminate large portions of your property from any construction activity.
The Bottom Line: If you have any mature trees on your property, you better hope they're not located centrally, because the TPZs can get massive depending on the size of the trees. This is exactly why we tell every client: get a survey done first, measure the trees, and understand the TPZ implications before you fall in love with a design that can't be built.
How Tree Protection Differs: Custom Homes vs. Additions vs. Garden Suites
Not all projects face the same level of tree protection headaches. Here's how it breaks down from our experience:
Garden Suites and ADUs — The Worst Hit
Garden suites are affected the most. These structures go in the backyard, which is exactly where mature trees tend to live. The City's official position is clear: laneway and garden suites should not result in the removal of a healthy bylaw-protected tree. Where a design requires tree injury or removal, the City may refuse the tree permit entirely. That's not a negotiation — that's a hard stop on your project.
If you're planning a garden suite and your backyard has established trees, you need to know this before you invest a dollar in design.
Rear, Side, and Front Additions — Second in Line
Additions are the next most impacted, particularly rear extensions. The reason is simple: you're expanding the building footprint into areas where trees and their root systems already exist. Side additions on narrow Toronto lots can also create conflicts with boundary trees or trees on neighbouring properties — which adds another layer of complexity because you may need consent from adjacent owners.
Custom Homes — More Flexibility, But Not Immunity
Custom homes tend to have the most flexibility because you're designing from scratch. You can position the foundation, orient the building, and plan the site layout with tree protection in mind from day one. That said, if you're building on a lot with significant existing trees, especially in established Toronto neighbourhoods, the TPZ constraints will still shape your design in meaningful ways.
The Bottom Line: The project type dictates your exposure level, but none of them are exempt. The earlier you understand the tree situation, the more options you have.
The Tree Protection Permit Process: Step by Step
Here's what the actual process looks like when you need a tree protection permit in Toronto:
Step 1: Get an Updated Survey
An updated property survey is usually required to identify the actual species, locations, and diameters of trees on your property and adjacent properties. This is your foundation document — everything else builds on it.
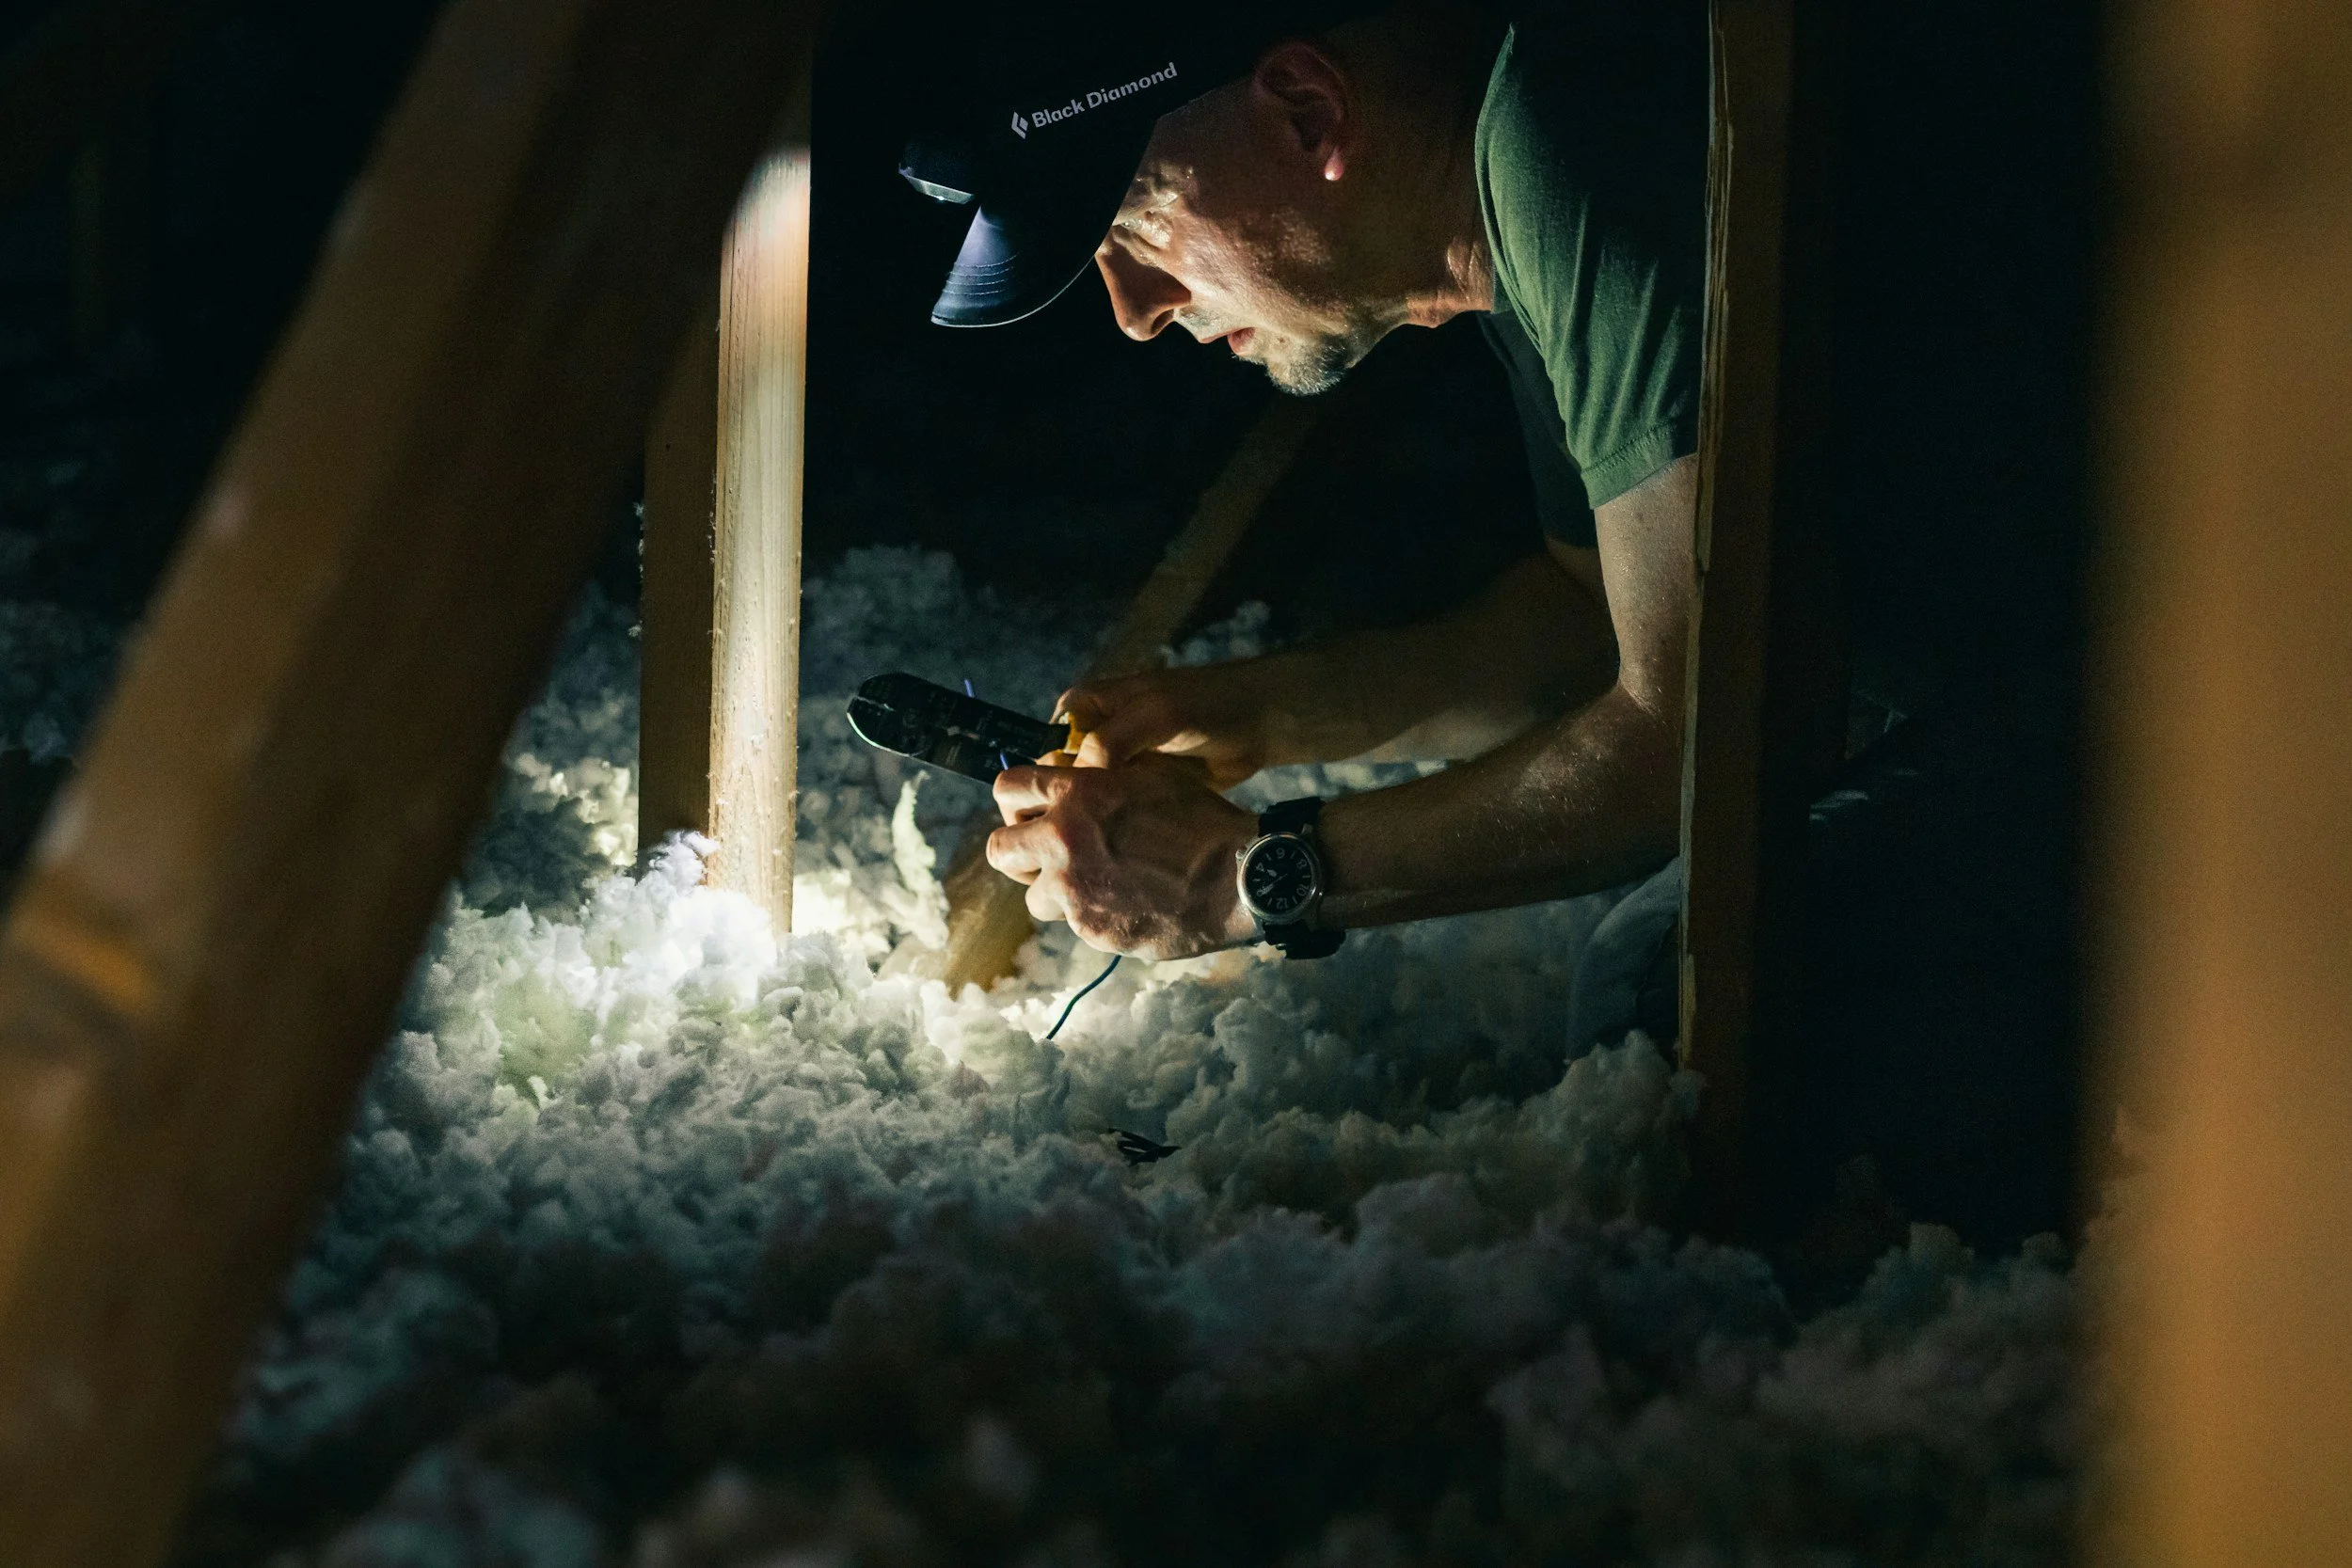
Step 2: Hire a Consulting Arborist
The arborist assesses the trees, measures DBH, determines Tree Protection Zones, evaluates tree health and condition, and prepares the arborist report. This report must meet City of Toronto standards and is required for permit applications.
Step 3: Develop the Tree Protection Plan
Working with your arborist and builder, develop a Tree Protection Plan showing all existing trees within the area of consideration (the site disturbance area plus 6 metres beyond for private trees, or 12 metres for ravine-protected areas). The plan must show proposed TPZ barriers, construction access routes, material storage areas, and any proposed tree injury or removal.
Step 4: Submit the Permit Application
Submit the completed application with arborist report, tree protection plan, landscaping and replanting plan (if trees are being removed), and applicable fees to the appropriate Urban Forestry district office.
Step 5: City Review and Conditions
Urban Forestry reviews the application and may require revisions to your construction plan or design. If a permit is issued, it comes with conditions — including specific tree protection measures, replacement planting requirements, and potentially security deposits.
Step 6: Install Tree Protection Before Any Site Work
Tree protection barriers must be installed before any site activity — including demolition. Urban Forestry must inspect and approve the protection measures before construction begins.
Step 7: Maintain Protection Throughout Construction
Tree protection barriers must remain in place and in good condition throughout the entire project. They cannot be altered, moved, or removed without Urban Forestry authorization.
Step 8: Final Inspection and Deposit Release
After construction and landscaping are complete, Urban Forestry inspects the site. Security deposits are only released after the trees are confirmed healthy and all permit conditions are satisfied — often two years after planting.
What Proper Tree Protection Actually Looks Like on Site
Tree protection on a construction site isn't complicated, but it has to be done to City specifications. Here's what it involves:
Plywood Hoarding
The standard is 2.4-metre (8-foot) high plywood hoarding, minimum 19mm (¾") thick, installed at the TPZ boundary. This is the most common barrier for residential projects.
Snow Fencing
On City road allowances where visibility matters, 1.2-metre (4-foot) high orange plastic web snow fencing on a wood frame is used. On residential sites, snow fencing is sometimes combined with plywood hoarding depending on the situation and Urban Forestry's requirements.
Signage
Tree Protection Zone signs — minimum 40cm x 60cm — must be mounted on all sides of the barrier. These signs notify everyone on site that no construction activity, grade changes, material storage, or vehicle access is permitted within the TPZ.
Sediment Control
Sediment control fencing must be installed per Ontario Provincial Standards to prevent runoff into tree root zones. This is especially critical on sloped properties and in ravine-protected areas.
The hoarding is pretty simple in concept — snow fencing and/or plywood wrapped around the tree based on the outlined TPZ radius shown on the site plan. But "simple" doesn't mean "optional." We've seen projects where contractors treated the hoarding as a suggestion rather than a requirement, and it cost the homeowner dearly.
Real Project Story: 62 Birchmount Road — When Tree Protection Becomes a Nightmare
We recently completed a rear extension project at 62 Birchmount Road in Scarborough, and it's a perfect example of what happens when tree protection gets addressed too late in the process.
The project included a rear extension and a garage build. The construction itself was straightforward — but dealing with tree protection and Urban Forestry later into the process? Nightmare. There's no other word for it.
We had to cut down and replant trees. The back-and-forth with Urban Forestry was painful and time-consuming. And the biggest impact? It delayed the start of the garage build that was part of the project scope. What should have been a smooth sequence of construction phases turned into a stop-and-start ordeal because the tree protection requirements weren't addressed early enough.
This is the kind of project where bringing in the arborist at the very beginning — before design, before permits, before anyone picks up a shovel — would have changed everything. The trees could have been accounted for in the design. The applications could have been submitted proactively. The timeline could have stayed intact.
Instead, it became a reactive scramble that added cost, added time, and added stress for everyone involved — especially the homeowners.
The Bottom Line: The 62 Birchmount project is a case study in why tree protection can't be an afterthought. It has to be sequenced into the project from the very first conversation.
When to Bring in the Arborist (Hint: Before You Think You Need One)
This is the single most important piece of advice in this entire article:
Bring in the arborist before the design process even starts.
Not during design. Not after design. Before.
Here's why: when we bring in the arborist early, they evaluate the trees and provide feedback about how to structure and submit the necessary applications to the City. Sometimes these conversations guide our homeowners in an entirely different direction — one that doesn't involve as much involvement from Urban Forestry. That can save tens of thousands of dollars and months of timeline.
The second-best time? When design starts. At that point, the arborist can understand what's being designed and set up the application for success. They can flag conflicts before they become problems, suggest design modifications that avoid TPZ encroachments, and ensure the permit application has the best chance of approval.
The worst time? After you've finalized your design, applied for building permits, and started construction. At that point, your options are limited, your costs are higher, and your timeline is at risk.
The Bottom Line: The arborist is not an afterthought — they're a planning tool. Invest in their expertise early, and it pays for itself ten times over.
BVM's Approach to Tree Protection
At BVM Contracting, we don't treat tree protection as a separate line item that gets dealt with "when we get to it." It's woven into how we plan every project from the first site visit:
Early Assessment: We flag potential tree protection issues during our initial site evaluation, before design begins. If the property has significant trees, we recommend getting an arborist involved immediately.
Design Integration: We work with architects and arborists to ensure the construction design accounts for TPZ constraints. This means fewer surprises, fewer permit complications, and fewer budget overruns.
Proactive Permitting: We help coordinate the tree protection permit application alongside building permits, so the two processes run in parallel rather than in sequence. This keeps the project timeline tight.
On-Site Compliance: Our crews understand tree protection requirements. Hoarding goes up before any work starts. TPZ boundaries are respected throughout construction. Urban Forestry inspections are coordinated proactively.
Sequencing Expertise: We know how to sequence construction phases around tree protection requirements — including coordinating with Urban Forestry for inspections, managing security deposits, and ensuring replacement planting is done to specification.
The difference between a builder who gets tree protection and one who doesn't shows up in your bank account and your calendar. We've lived through both scenarios on project sites across Toronto, and trust us — proactive always wins.
Homeowner Action Plan: What to Do in the Early Planning Stage
If you're in the early stages of planning a custom home, addition, or garden suite in Toronto, here's your action plan:
1. Invest in an Updated Property Survey
Get a current survey that shows property lines, existing structures, and — critically — the location and approximate size of all trees on your property and adjacent properties. This is your starting point for everything.
2. Get an Arborist Assessment Early
Hire a consulting arborist to evaluate your trees before design begins. They'll measure diameters, identify species, assess health, determine TPZ sizes, and flag potential issues with your planned construction.
3. Check if You're in a Ravine-Protected Area
Use the City of Toronto's Ravine and Natural Feature Protection By-law Map (available at toronto.ca) to determine if your property falls within a designated area. If it does, protection requirements are significantly more stringent.
4. Design With Trees in Mind
Share the arborist's findings with your architect or designer before they start drawing. A design that avoids TPZ encroachments will save you time, money, and frustration compared to one that requires permits for tree injury.
5. Budget for Tree Protection
Include tree protection costs in your project budget from the start: arborist fees, permit application fees, hoarding installation, potential replacement planting, and possible security deposits. It's better to budget for it and not need it than to be surprised mid-project.
6. Choose a Builder Who Understands the Process
Work with a builder who has direct experience navigating Toronto's tree protection requirements. This isn't a skill every contractor has. Ask about their experience with Urban Forestry, their approach to sequencing permits, and how they handle TPZ constraints on site.
Think about the trees. Because if you don't, you're risking a large and unavoidable expense that might take you over budget if you aren't careful. The best way to understand the risks is by investing in a survey, getting an arborist to review early in the planning process, and working with a knowledgeable home builder who can help you sequence everything properly.
FAQs
How do I know if a tree on my property is protected?
Measure the trunk circumference at 1.4 metres above ground and divide by 3.14 to get the diameter (DBH). If it's 30cm or more, the tree is protected under the Private Tree By-law. All street trees are protected regardless of size. If your property is in a ravine-protected area, all trees are protected regardless of size.
Can the City refuse my tree removal permit?
Yes. The General Manager can refuse permits where trees are healthy, where environmentally sensitive areas won't be adequately protected, or where the application doesn't meet bylaw criteria. For garden suites specifically, the City may refuse permits that would result in removing a healthy protected tree.
What happens if my contractor damages a protected tree without a permit?
You — the property owner — are liable. Fines range from $500 to $100,000 per tree. The City can issue stop-work orders, require remediation, and hold you responsible for replacement planting at 120% of cost. Your contractor's mistake becomes your financial problem.
Ready to Build Smart?
If you're planning a custom home, addition, or garden suite in Toronto and want to make sure tree protection doesn't derail your project, we'd love to talk. We'll help you understand your property's specific tree situation, navigate the permit process, and build a plan that keeps your project on time and on budget.
Book a free consultation: Schedule a call with BVM Contracting
External Resource: City of Toronto — When to Apply for a Tree or Ravine Permit


Learn about the step-by-step guide to properly renovating your home.